
I’ve been using tmux for five or six years now. I encountered it on a project that was using Overmind to locally manage processes for an application under development. Overmind uses tmux for process persistence and output capturing. With Overmind, if you want to view individual process output, you have to do it with tmux.
The default tmux experience is not a great one. It came across as yet another arcane Unix tool I’d occasionally use but never fully grok. Doing only what I needed to do–scroll the logs and then quit–was a struggle every time. Using the default “help” key binding of C-b ?, one is presented with 85+ default top-level bindings.
Despite the initial friction, I decided to use tmux in my development environment–it’s a lightweight and portable program that I can use anywhere, including remote servers. In making it work with my other tools, I stumbled into a configuration paradigm that works really well for me. Tmux is now a permanent fixture of my environment, and I use it with the same ease I do vim.
Lately I’ve been working with AI CLI tools remotely from my gaming PC. Tmux has been indispensable for that, keeping sessions open for days and weeks as I periodically do work. As I’ve been reading further into the tmux docs, I see how powerful it is, and what a shame it is that the default configuration presents such a hurdle. Tmux provides the facilities to write a much more ergonomic and sensible configuration. This is the intro I wish I had gotten.
What tmux is, and how it works
Tmux is a terminal multiplexer. This means that tmux allows you to run and use multiple programs in parallel in a single terminal window. It uses specific terminology for its components. Understanding them is important for this post, but will also help you if you read tmux’s documentation later.
Tmux uses a client-server model. State is stored on the server and thus protected from client disconnect. Note that this is true even when using tmux locally–tmux protects against ssh disconnects, but also against accidentally closing your terminal when running programs locally. When using tmux, you are always starting a client that connects to the server.
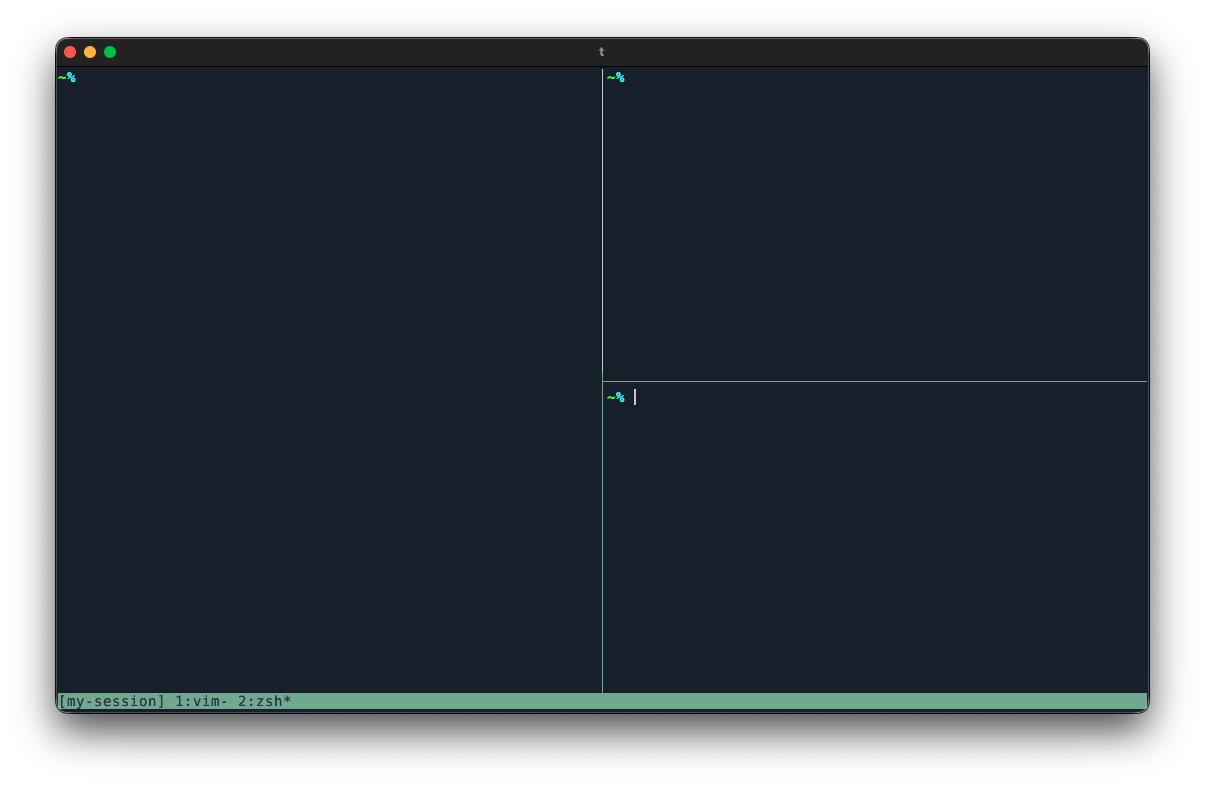
A session is a persistent, independent workspace in tmux. Tmux can manage multiple sessions. A client attaches to a session, which allows you to see and manipulate its contents. Sessions have windows, which are like application tabs in the sense that you see one at a time and can switch between them. Windows can be split into multiple panes, which contain running programs.
At the bottom of tmux you’ll see the status line, the colored bar that shows the session name, and the active window and pane.
Tmux is manipulated with commands. These are executed from a key binding, tmux’s own command prompt, or even from a shell inside or outside of tmux.
To execute commands with a key binding, using the prefix key is typically required, at least with the default configuration. This is a special key that signals to tmux that the next keypress is for tmux itself, and should not be sent to the program running in the active pane. This is similar to the leader key concept in vim. All key bindings exist on a particular key table that the client can switch to. The prefix key tells tmux to use the prefix table. This is the table that bindings go on by default, if no other table is specified.
Formats are strings that use special directives to get variable contents and perform simple logic. You might use them when setting runtime options, for example to change how the status line looks, but some commands use them as well.
Starting and stopping tmux
After installing, start tmux with tmux in your terminal. This will:
- start the server, if it is not running yet
- create a session
- connect your terminal to that session as a client
Whatever you do in that session is protected because tmux manages it. You could close your terminal, start it again, and then run tmux attach to return to it. If you want to exit tmux, you can simply type exit in the shell inside tmux, which will:
- exit the shell
- kill the pane that the shell was running in
- kill the window that the pane was in, if it was the only pane
- kill the session that the window was in, if it was the only window
- kill the server, if that was the only session
A better config
Above I mentioned that by default tmux has 85+ bindings. Using them requires memorizing some arbitrary choices, for example that C-b % will split the window horizontally, or that C-b $ can be used to rename the current session. But tmux also has its key tables feature that lets us avoid this mess of every character on the keyboard having some single function across tmux’s entire feature set.
Aside from “copy mode”, there are two default tables: root and prefix. The root table is used if tmux hasn’t switched to another table. The prefix table is for bindings behind the prefix key. But we can create our own tables. In fact, we don’t have to use the prefix table at all.
My approach is to put frequently used keys on the root table with a modifier, much like any other OS application. I use the Meta key (i.e. Alt/Option). Less frequently used keys go on a non-root table. Tables can effectively be nested, so we can construct a hierarchy based on frequency of use–basically a menu system.
Tmux will load your configuration from ~/.tmux.conf. You can also use the -f option to specify the file. See that option’s details in the man page for more about configuration files. If you’d like to follow along, you can run tmux source-file ~/.tmux.conf in the shell to reload your config after you change it.
Let’s get started. Graciously, tmux lets us unbind all the default bindings from the prefix table with unbind -a.
unbind -a
I recommend starting there and building a config from scratch, binding only what you need as you need it. This will help you learn bindings naturally, as well as expose you to tmux commands and concepts only when you find that you need them.
Let’s add some bindings to change the current window. Windows can be targeted by their index, so we’ll use the number keys to select the window at that index. We’ll bind this on the root table so we don’t have to press the prefix key first, but we’ll use the Meta key (M-) to not interfere with typing.
bind -T root M-0 select-window -t 0
bind -T root M-1 select-window -t 1
bind -T root M-2 select-window -t 2
bind -T root M-3 select-window -t 3
bind -T root M-4 select-window -t 4
bind -T root M-5 select-window -t 5
bind -T root M-6 select-window -t 6
bind -T root M-7 select-window -t 7
bind -T root M-8 select-window -t 8
bind -T root M-9 select-window -t 9
bind is a command that takes a key and another command. Here we are binding, on the root table, M-<number> to run the command select-window with a target window identified by the number after -t.
Tmux creates a window on startup, but let’s add a binding to create a new window that we can switch to. This is a relatively uncommon command for me, so I’m going to put it on a dedicated table to demonstrate that, but you might put it on the root table as well.
bind -T root M-w switch-client -T window
bind -T window n new-window
Here we are saying “on the root table, make M-w switch the client to the ‘window’ table”, and “on the window table, make n create a new window”. So now to create a new window, we press M-w and then n. Sort of like the prefix key, but we can have as many as we want, and we can nest them. To build on the window table:
bind -T window s switch-client -T window/split
bind -T window/split h split-window -hb
bind -T window/split j split-window -v
bind -T window/split k split-window -vb
bind -T window/split l split-window -h
This allows us to split windows by using a separate “window/split” table accessible from the main window table. So now we can use M-w s l to split the window horizontally and to the right.
Now that we can split windows, we need to be able to switch the active pane. I consider that a high-frequency command, so let’s put that back on the root table.
bind -T root M-h select-pane -L
bind -T root M-j select-pane -D
bind -T root M-k select-pane -U
bind -T root M-l select-pane -R
If you use this, you’ll notice that if you’re on the left-most pane and you move left, you are brought back around to the right-most pane. Let’s assume we don’t want this, and fix it with some conditional logic.
bind -T root M-h if -F "#{pane_at_left}" "" "select-pane -L"
bind -T root M-j if -F "#{pane_at_bottom}" "" "select-pane -D"
bind -T root M-k if -F "#{pane_at_top}" "" "select-pane -U"
bind -T root M-l if -F "#{pane_at_right}" "" "select-pane -R"
Here we’ve swapped the select-pane command for something a little more complicated. We’re using the if-shell command, which can also be used by its alias if. This command takes three arguments. The first is typically a shell command, and its exit status determines which of the following two commands is run–the first if success and the second if not. The -F flag makes the first argument not run as a shell command at all. Success is determined by whether or not the string is empty or 0 (false), or anything else e.g. 1 (true), after format expansion. As mentioned above, formats use special directives that allow us to embed variables and logic in strings. Here we are simply getting the content of one of these variables:
(from the Formats section of the man page)
Variable name          Replaced with
pane_at_bottom         1 if pane is at the bottom of window
pane_at_left           1 if pane is at the left of window
pane_at_right          1 if pane is at the right of window
pane_at_top            1 if pane is at the top of window
In other words, “if the pane is at the left of the window, do nothing, otherwise select the pane to the left”, and so on.
If you’ve been following along, you now have a set of bindings that lets you create and navigate between windows and panes, which is basically all you need to start using tmux. Moreover, you’ve heard all the core terminology, which will help orient you when reading documentation. Continue reading for some additional tips for writing a config.
For further reading, I recommend the Getting Started page of the tmux GitHub wiki as a more authoritative and thorough introduction, which links out to other pages on the wiki for even more depth.
Additional tips
Notes
You can attach a note to a key binding with -N "<note>":
bind -T window -N "Create a new window" n new-window
list-keys -N -T <table> will list all the keys on a table, along with the notes. This is helpful to remind yourself of your custom bindings. I bind this to ? on every table.
Useful options
buffer-limit– the maximum number of paste buffersbase-index– set to 1 to start windows at 1 instead of 0, since 0 is possibly on the right end of your keyboard, after 9pane-base-index– same thing as base-index, but for panes instead of windowscommand-alias– an array of custom aliasesmode-keys– set to vi to use vi-style keybindings in copy mode instead of emacs-stylehistory-limit– the number of lines held in the pane history (default 2000)prefix and prefix2– keys accepted as the prefix keystatus-left– set the content of the left side of the status line (see alsostatus-left-lengthandstatus-left-style)status-right– set the content of the right side of the status line (see alsostatus-right-lengthandstatus-right-style)
Use the set command to set options in your config:
set history-limit 20000
Note that options apply to a particular scope (server, session, window, or pane). This can be specified with the set command, but it is not required, as tmux will infer the scope. You should however use the -g flag to make the options global.
See the Options section of the man page for a full list of options and more information about scope.
If you go the route of custom key tables, you can add the current table to your status line with the format variable #{client_key_table}.
Buffers
Tmux has its own copy and paste system. By default, 50 paste buffers are kept.
To use it, you need a binding to enter “copy mode”:
bind -T root M-c copy-mode
If you use vim, be sure to set up the vim key bindings, as emacs bindings are the default:
set -g mode-keys vi
You can see the copy mode keybindings in the Windows and Panes section of the man page.
The command prompt
The command-prompt command will open a prompt where commands can be entered. It has autocomplete and respects aliases from your config. I bind this to : (colon) since that is the first visible character in the prompt.
Nesting tmux
If you need to nest tmux, send-keys will be useful. This lets you dynamically send keys as if they were pressed. For example, I use Overmind inside tmux. The following prompts for a keypress and then sends it to the inner tmux session as if it were pressed, along with the Meta modifier. This bypasses the key table in the outer tmux client.
bind -T root M-m command-prompt -k -p "M- " "send-keys M-%1"
Quoting with braces
We’ve seen how commands can call other commands, like with conditional commands via if-shell, or when command-prompt takes some user input and passes it to another command. In those examples, the nested commands were wrapped in quotations. This is fine for simple cases, but if you need to doubly nest commands, or if your command itself uses quotations, you have to escape inner quotations which quickly gets difficult to read and write.
Tmux allows commands to be quoted with braces, which eliminates the need to escape quotations. Here’s an example command that lets you choose a paste buffer and then save it to a file.
bind S if -F "#{buffer_size}" {
  choose-buffer {
    command-prompt -p "Save to path:" {
      save-buffer -b %% "%%"
    }
  }
} {
  display-message "No buffers to save"
}
Aliases
Tmux provides a way to alias commands. See the command-alias option in the documentation. Note that these are not compatible with the brace quotation shown above. They are however server options and can be used from the command prompt or shell.
Loved the article? Hated it? Didn’t even read it?
We’d love to hear from you.