
Whenever website analytics are discussed it is usually in the context of marketing. Which pages are getting the most visits, which advertising campaigns are most successful, and so on. You don’t have to work in advertising to make use of analytics, especially when working with web applications. Analytics can be a vital tool in helping developers and designers diagnose bugs and track usage to determine if the app is solving the problems it’s supposed to be solving.
Matomo is an analytics platform billing itself as a Google Analytics alternative that gives you 100% data ownership and the option to host on-premises. If your application has some additional privacy or security requirements, Matomo can be an excellent option for recording and aggregating user data.
This article will be partly a guide to setting up Matomo tracking using the vue-matomo library, and partly a collection of tips and thoughts on making decisions about what should be tracked. After the setup and configuration, we will explore more specifics including fine tuning the automatic page visit tracking, using events to track user actions, and associating a user’s ID with their interactions.
The vue-matomo Library
The vue-matomo library is a small JavaScript package that integrates Matomo into Vue using the Vue router to automatically track page views. It also allows for writing more idiomatic tracking code that fits neatly into the Vue ecosystem by wrapping the Matomo tracking code in a Vue plugin module.
This guide assumes you have already set up a Matomo instance either on-premise or using Matomo’s cloud option.
Installing vue-matomo
Vue-matomo can be installed one of three ways.
Using npm
npm install --save vue-matomoReferencing the vue-matomo CDN
<script src="https://unpkg.com/vue-matomo"></script>
Referencing locally downloaded files
<!-- Include after Vue -->
<script src="vue-matomo/dist/vue-matomo.js"></script>
After installation vue-matomo can be configured like any other Vue plugin using the use function. This will look slightly different depending on your version of Vue, but all the available options remain the same.
Vue 3
import { createApp } from 'vue';
import VueMatomo from 'vue-matomo';
import App from './App.vue';

createApp(App)
  .use(VueMatomo, {
    // Configuration Options
    host: '{YOUR_MATOMO_INSTANCE_URL}',
    siteId: {YOUR_SITE_ID},
    router,
  })
  .mount('#app');
Vue 2
import App from './App.vue';
import VueMatomo from 'vue-matomo';

Vue.use(VueMatomo, {
  // Configuration Options
  host: '{YOUR_MATOMO_INSTANCE_URL}',
  siteId: {YOUR_SITE_ID},
  router,
});

new Vue({
  el: '#app',
  router,
  components: { App },
  template: '',
});
The only required configuration options are the `host` option which will be the URL pointing to your Matomo server and the `siteId` option which is the numeric ID associated with your specific site. The router option is very valuable since it will allow vue-matomo to automatically track page visits. The full list of configuration options can be found on the vue-matomo github README.
Supporting multiple environments with tracking
It can be desirable to track different instances or environments of your application separately in Matomo if, for example, you wanted to keep your production analytics separate from any testing analytics done in a lower environment. This can be achieved by setting up multiple sites in your Matomo instance using the process described here and then changing the siteId in your vue-matomo configuration based on an environment variable.
const environmentSiteIdMap = {
  development: 1,
  staging: 2,
  production: 3,
};

Vue.use(VueMatomo, {
  host: '{YOUR_MATOMO_INSTANCE_URL}',
  siteId: environmentSiteIdMap[process.env.ENV],
  router,
});
This can allow you to have a test environment with working analytics in order to test tracking, or any other situation in which you would want to have separate analytics on different instances.
Usage
After configuration, vue-matomo will then automatically load the Matomo tracker code whenever the app is started as well as automatically track page views based on route changes. You can also manually interface with the Matomo tracker library by referencing this.$matomo which is provided to all components. It’s important to note that vue-matomo asynchronously loads the tracker so you should always guard your calls to $matomo using either an if statement or optional chaining like so: this.$matomo?.trackPageView().
Customizing Automatic Page Tracking Behavior
One of the most impactful decisions I found in implementing Matomo was deciding which type of route changes should be tracked. By default Matomo will track any type of route change, including changes to the path, query params, or URL fragments. Depending on how your application is set up this could result in inconsistent or misleading aggregate page view data. For example, if you have a search bar that updates a search query parameter, every time a user types something into the bar, vue-matomo will record a new page view. This could lead you to believe that your search page is the most popular feature in your app, even if it’s only a few people who have a lot of things to search.
In order to allow more fine-grained control of which changes get tracked, I created a fork of the original library which adds an additional configuration option that allows you to determine specifically which route changes get tracked. The option called trackInteraction takes a predicate function that, given the previous and destination routes, will return a boolean that determines if that route change will be tracked as a page view.
For example, in this configuration vue-matomo will only track a page view when either the route path or hash fragment changes, but not when only the query params change.
Vue.use(VueMatomo, {
  host: '{YOUR_MATOMO_INSTANCE_URL}',
  siteId: {YOUR_SITE_ID},
  router,
  trackInteraction: (to, from) => {
    // If this is the first route visited, then always record a page visit
    if (!from) {
      return true;
    }

    // Return true if the path or hash changed, but not anything else
    return to.path !== from.path || to.hash !== from.hash;
  },
});
Another thing to keep in mind is that Matomo allows you to track both the page URL and the page name. I’ve found that properly tracking route names gives you better visit grouping in the Matomo interface, especially when working with dynamic routes. The prime example of this is a route with a variable ID such as /users/1 where 1 is the ID of the user you are viewing . If only the URL is tracked then all page views on separate user pages will not be properly grouped together so you would see 3 views for /users/1 and 7 views for /users/3 when really you just want to see 10 views in total for the user page. If you associate a name with the route such as ‘User Profile’ then they can be easily aggregated both separately as URLs and together under a shared name.
By default vue-matomo will reference the route meta property called title. So the following router code will allow you to track the title “User Profile” along with the URL /users/1 along with the URL.
const routes = [
  {
    path: "/users/:userId",
    component: UserProfile,
    meta: {
      title: "User Profile",
    },
  },
];
Using Events to Track Specific User Actions
Besides page views, Matomo also allows you to track arbitrary user interactions in the form of events. This allows you to track whenever a user clicks a button, scrolls down a page, or any other page interaction that can trigger JavaScript.
async updateProfilePicture() {
  await ProfileService.updateProfilePicture();
  this.$matomo?.trackEvent("User Settings", "Update Profile Picture");
}
Whenever the updateProfilePicture method is called and the update is successful this will track a new event occurrence with “User Settings” being the event category and “Update Profile Picture” being the event action. The event category is used to group similar events, and the event action is the name of the specific interaction you are tracking. You can also record an event name and a numeric event value for additional grouping and context. I’ve found that events are the best way to track application feature usage and provide additional context when troubleshooting bugs.
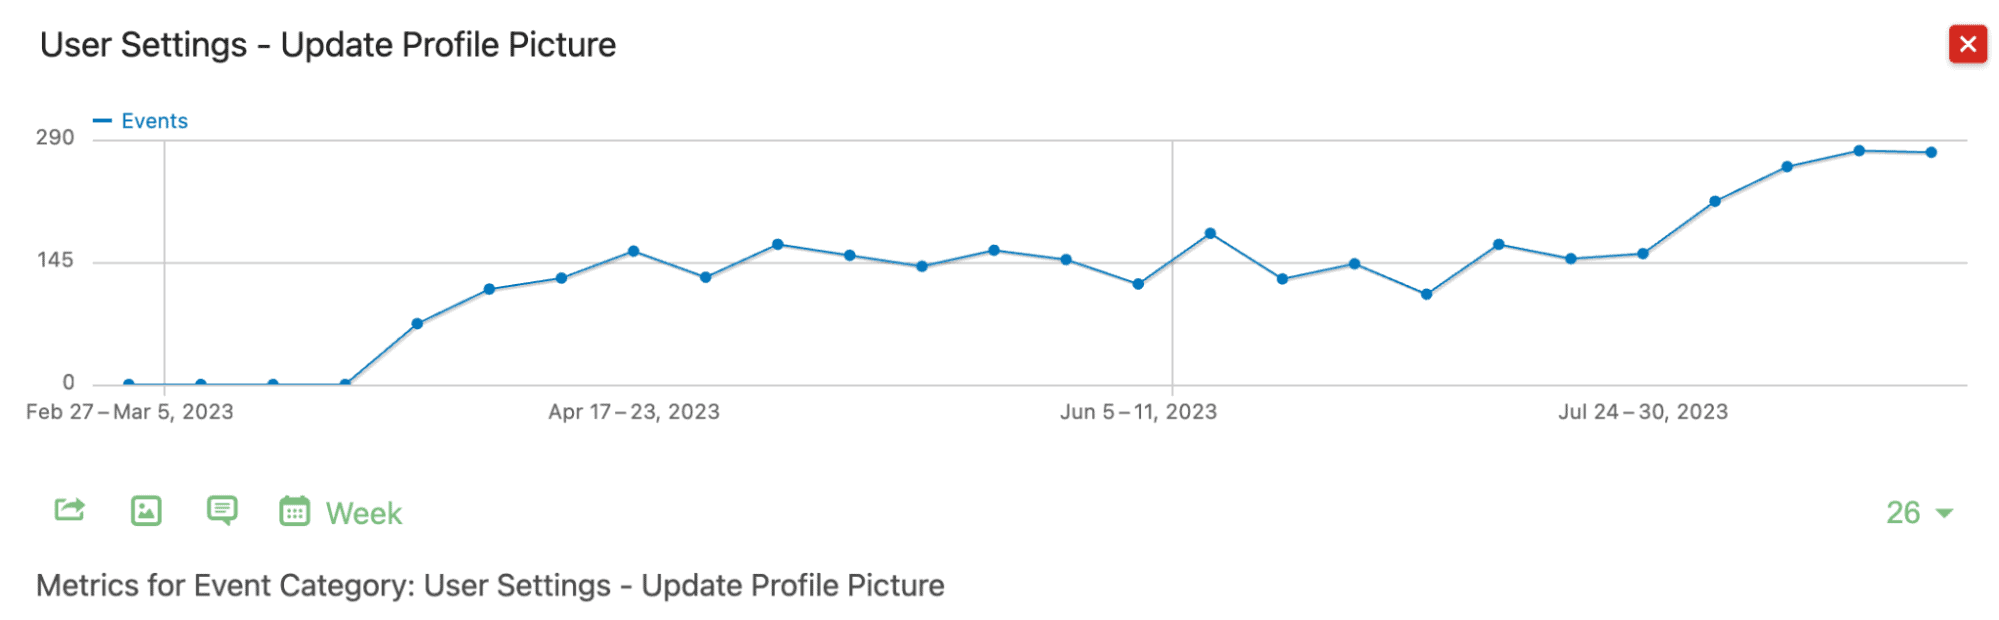
Graph showing instances of events with the “User Settings” event category and the “Update Profile Picture” event action over time.
User ID Tracking
It can also be valuable to associate each visit with a user ID. If you set the user ID of the authenticated user before logging their visits and events, you will have a more accurate measure of your number of unique visitors and the timeline of each user’s visits. This can also help you associate page visits and events with specific database records helping with troubleshooting.
In order to track a visitor’s user ID you could include it in your initial Matomo configuration using the userId property, but I’ve found that more often than not the application has already been initialized by the time the user is authenticated. For this case you can add an explicit setUserId call to your authentication code after the user has been authenticated like the following example.
if (window?._paq) {
  window._paq.push(["setUserId", user.id]);
}
Conclusion
Adding user tracking to your web application can be very beneficial to understand feature usage, follow user journeys, and troubleshoot bugs. If Matomo meets the needs for your use case, then vue-matomo is a great library that can save implementation time and simplify your Matomo usage. Using events, user ID tracking, and customizing the vue-matomo’s router integration can help you record beneficial data that accurately reflects how your application is being used. If you plan on implementing Matomo using vue-matomo, I would highly recommend reading through all the available tracking options and doing plenty of experimentation to make sure that you are tracking usage in the easiest and most helpful way possible.
Loved the article? Hated it? Didn’t even read it?
We’d love to hear from you.


Hello, thank you for this tutorial, that said I didn’t quite understand where vue-matomo should be installed on the hosting matomo or on the website or application to track?
Sam
Hello, the vue-matomo library should be installed and configured on the Vue application you wish to track, not the hosting instance.