
Introduction
I spend a lot of time in the terminal. A lot of time.
Over the years I have moved to doing almost all of my development in the terminal. With the help of tmux and tmuxinator I have come up with a customizable, reproducible way to spin up a development environment with a lot less effort. I believe that these tools can help anyone that uses the terminal be more productive and, more importantly, happier.
What is tmux?
First came Screen. Screen allows for terminal multiplexing that is disconnected from the user’s session, useful for unreliable network connections as the running commands will not be terminated if the session is ended. You can also reattach to the screen session after logging back into the server.
I used Screen for a little while until I learned about tmux. The tmux project is a successor to screen that allows for easier configuration while containing most of the major features of Screen.
tmux in Action
The configuration of tmux is what originally brought me to make the switch. Out of the box the controls felt more intuitive and once the default leader key combination is switched from CTRL-b to something more sensible (CTRL-s or CTRL-a) it is a joy to use.
Spinning up a tmux session and having the ability to split screens for editing, running commands, tailing logs and more at the touch of a couple of keys was immensely empowering and changed the way that I used the terminal substantially. With the added ability to ssh into a server and reattach to the session it was an amazing experience.
tmuxinator
Now, spinning up a tmux session from scratch every time I wanted to work on something was fine if I was working on a remote server doing patches or troubleshooting an issue, but when developing locally it was starting to get a little tiresome. I had moved to using Vim (now Neovim) in the terminal for all of my editing and at the time I was developing a couple of Rails projects. Going through the process of starting tmux, opening panes and windows and spinning up the processes I used frequently in their respective places was getting to be too much.
Enter tmuxinator.
Tmuxinator is a ruby gem that elevates using tmux for project development from a good experience to a fantastic experience. This gem allows for project specific YAML files to be created that not only allow for the configuration of the tmux windows and panes but also allow commands to be run in them on start up and shut down.
There are many configuration options available when using tmuxinator to generate a new project file. An example file can be seen in this section of the documentation. If you happen to run into issues with rbenv you can set a specific version to use with the “pre_window:” setting.
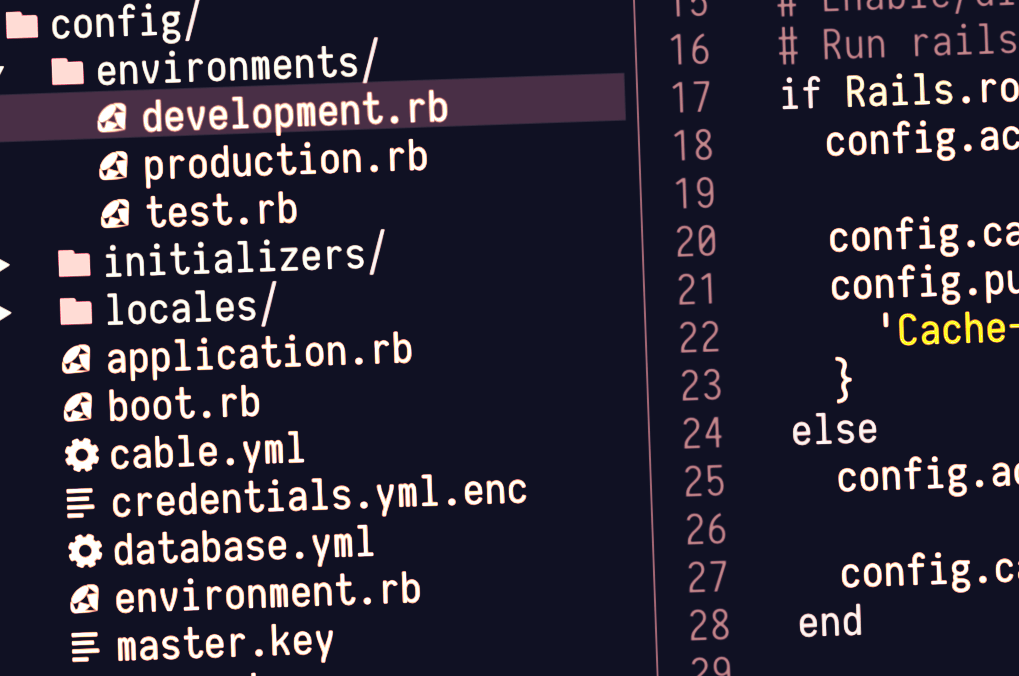
Here is a sample config for how I like to set up the tmux session for a rails project:
# /Users/caseyellett/.tmuxinator/sample_project.yml
name: sp
root: ~/Projects/rails/sample_project/
tmux_options: -f ~/.config/tmux/tmux.conf
windows:
- editor: nvim
- scratch:
- guard: bundle exec guard
- console: bundle exec rails console
- server: bundle exec foreman start -f Procfile.local
- logs: tail -f log/development.log
As you can see from the configuration above I keep the setup pretty simple. With one command my editor, a scratch window for running commands and git interaction, guard, the rails console, foreman and a window tailing the development log all spring into action. As I am working I can easily create more windows and split those windows into panes if I need to and those will stay active until I either close them or end the tmux session.
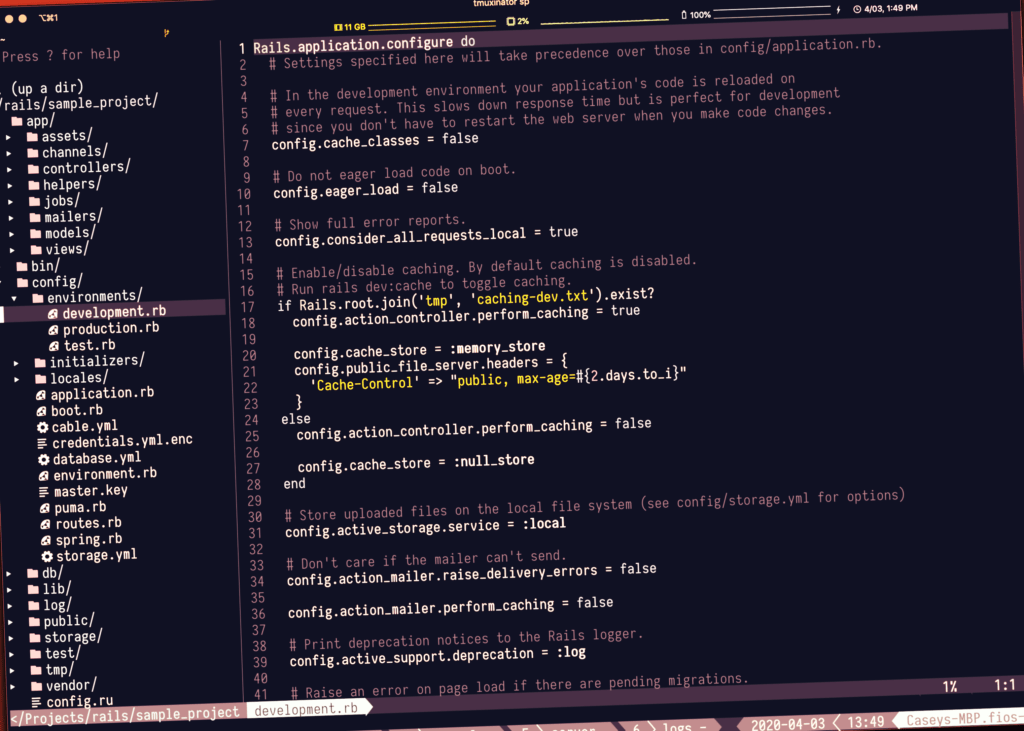
Starting up the session above is as easy as entering mux sp. This command launches the tmux session and sets everything up according to the config for the project. If you are disconnected from the session this same command will reattach to a session if it is running.
Conclusion
Every time I start a new project I set up a tmuxinator configuration file now. Over the life of the project I usually end up editing that config, adding and removing windows, panes and commands until everything that I need is available and accessible with the use of one command. I find that it increases my comfort and productivity. I urge anyone that is currently developing mostly in the terminal to give this combination a try. It may not be for everyone, but you might just find that you enjoy it as much as I do.
Additional Resources
My tmux.conf file.
My current terminal emulator is iTerm2 on OSX.
I have recently been enjoying the Nord color scheme in all of the applications that I use in the terminal. The theme has been ported to Neovim and tmux.
I use Airline for my Neovim status line with the Nord theme. There is also a tmux status line port with the Nord theme.
In order for the Neovim and tmux status lines to display properly a patched font that includes glyphs needs to be used. I personally use the Iosevka font from Nerd Fonts.
Loved the article? Hated it? Didn’t even read it?
We’d love to hear from you.