
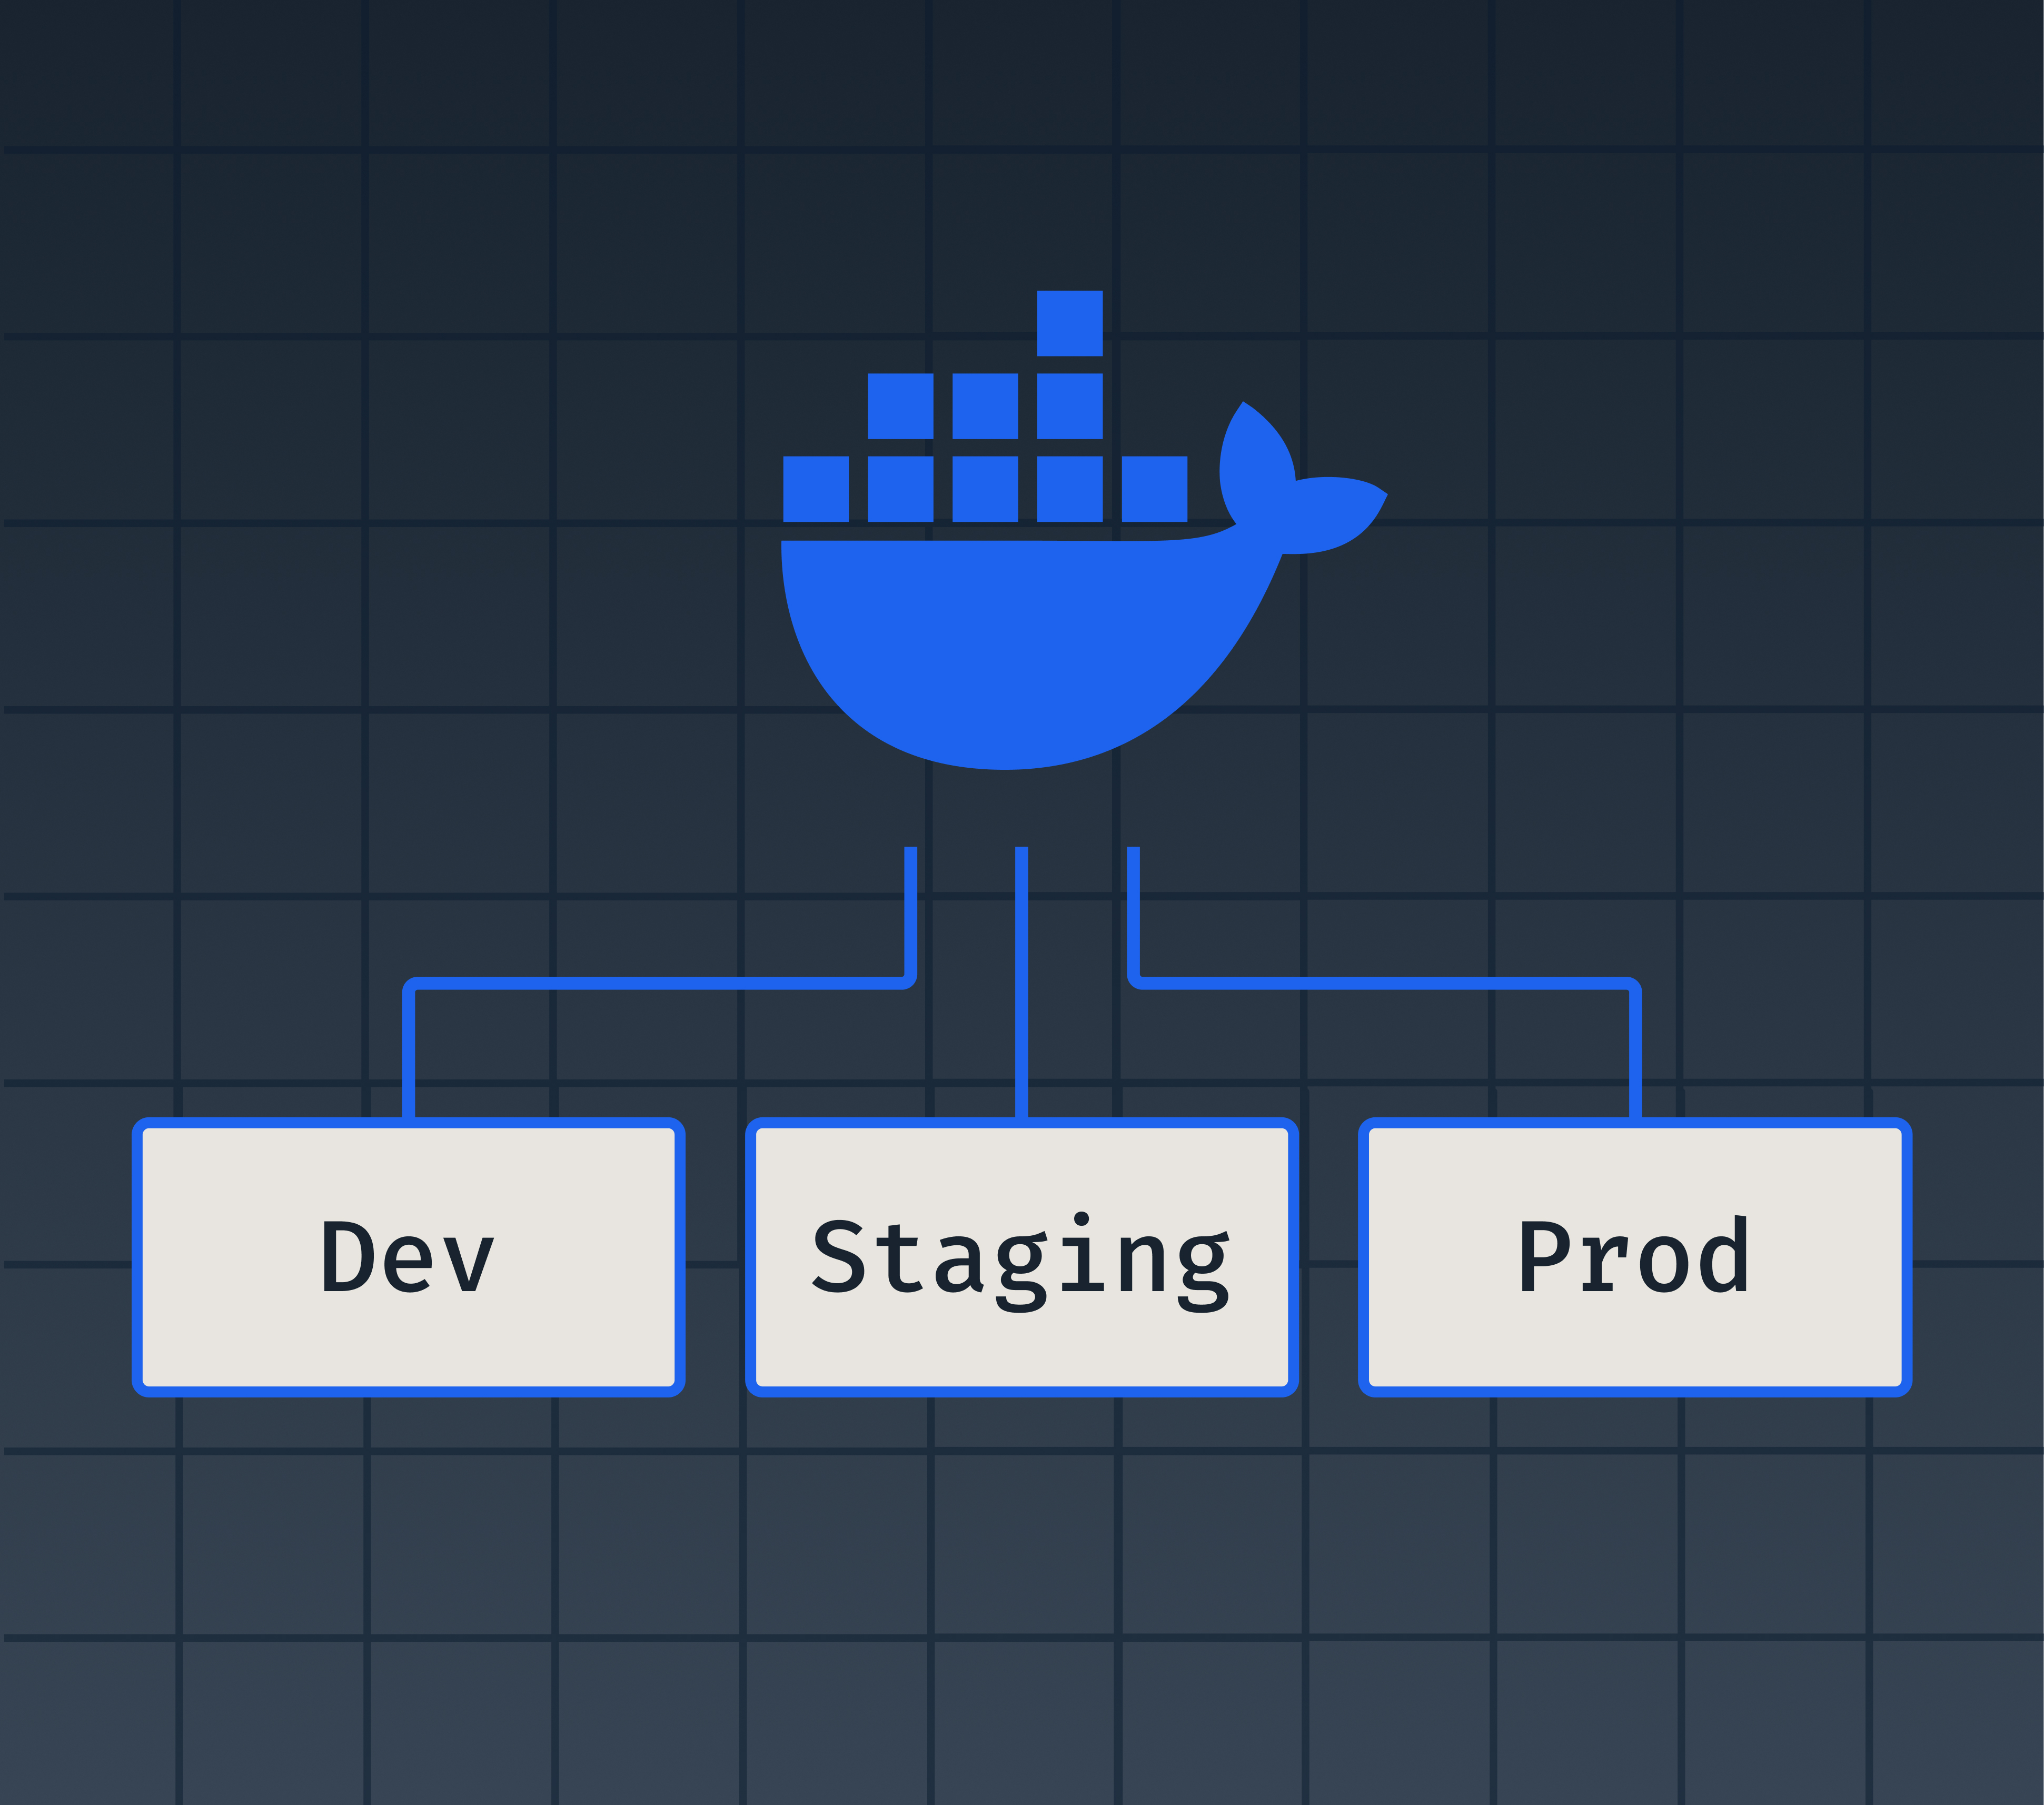
Docker is a great tool for managing and deploying web applications, but it can be a little intimidating to scale up from running a single containerized application to managing that application’s lifecycle through development, staging and production environments. Because of Docker’s flexibility, there is more than one way to handle the configurations of multiple application environments. I’ve seen two approaches to this problem and I would roughly classify them as Rails-inspired and Docker-idiomatic:
- Rails-inspired: in much the same way that Rails applications rely on multiple files to configure multiple environments (think config/development.rb), some development teams will create separate files to configure their Docker builds, a la Dockerfile.dev and Dockerfile.prod.
- Docker-idiomatic: Docker provides a concept called Multi-stage builds, which allows you to build containers in stages and share selected parts of those builds with subsequent stages. Using this feature, you can configure different stages to correspond to different environments from within a single Dockerfile.
Let’s get into the details of these two approaches and see why you might use one or the other depending on your needs.
Multiple Dockerfiles
If you’re familiar with Rails or other frameworks that use this pattern, it’s fairly self-explanatory – you create a Dockerfile for each environment and define the configuration, naming each file for each environment like Dockerfile.dev for development and Dockerfile.prod for production.
This approach allows for a very clear and explicit separation between your environments and how they’re set up. When building your container, you can specify which file to use like so:
docker build -f Dockerfile.dev
If you’re managing multiple services via Docker Compose, you can pass a dockerfile attribute to the build subsection in order to use the right file for the right environment:
services:

app:

build:

dockerfile: Dockerfile.dev
So, at first glance, this is a pretty clean and straightforward way to keep your different environments configured as needed.
If you’re coming from Rails, though, you may have noticed a missing piece – there’s no equivalent of config/application.rb to house the configuration settings that are shared. The result is that these files can end up looking quite similar and repeating a great deal of code. And when you need to change something that’s shared across all your environments, now you’ve got to update it in each file. If your builds aren’t that complicated, maybe this isn’t a big deal; but if you’re feeling concerned or annoyed about all that repetition, consider another approach…
Multi-Stage Builds
This approach takes a little more familiarity with Docker, but it can allow you to DRY up some of your configuration code and get closer to a single source of truth on how your builds should be handled.
Core to this concept are Docker’s FROM and as keywords. If you’ve built a simple container before, you probably started your Dockerfile with something like FROM ruby:3.2.2 – this is a stage in your build and you can name it with the as keyword, like FROM ruby:3.2.2 as development. From there, later in the Dockerfile, you can reference that name with the FROM keyword.
So since you probably want your production build to pre-compile your assets, but not the development build, you can create separate stages to handle each of these cases, with a base build handling the shared setup:
# Base stage with common dependencies

FROM ruby:3.2.2 AS base

WORKDIR /app

COPY . .

RUN bundle install

# Development stage

FROM base AS development

ENV RAILS_ENV=development

CMD ["rails", "server", "-b", "0.0.0.0"]

# Production stage

FROM base AS production

ENV RAILS_ENV=production

RUN bundle exec rake assets:precompile

CMD ["rails", "server", "-b", "0.0.0.0"]
To build the production stage, you can run:
docker build --target production -t myapp:prod .
If you’re using Docker Compose to manage multiple services, just add a target attribute to the build subsection:
services:

app:

build:

target: development
You can take this approach further by, for instance, breaking out your dependency installation commands so that you only install your prod dependencies in your prod stage. This could look like moving your bundle install command down into the development stage and then modifying it for the production stage to look like bundle install –without development test.
It’s also possible to copy folders and files from one stage to another:
COPY --from=prod-build /rubygems /rubygems
In this way, you can more selectively choose what goes into a stage and keep it slim for faster building. There’s a good tutorial leveraging that approach here.
As your builds get more complex, this approach can get tricky and harder to reason about and I’ve found some steps may end up needing to be repeated, which feels like it defeats the purpose a little bit. But, compared to the Rails-inspired way, it’s nice to have everything you need to know in a single file once you can scan for the FROM/as lines and form a mental model of the branching/inheriting behavior.
So, which approach is best for you? That’ll largely depend on the variation between your environments and your team’s Docker experience level.
Loved the article? Hated it? Didn’t even read it?
We’d love to hear from you.


there is a school of thought that it is better to use the same image in all environments, and move any config outside (e.g. env vars, k8s manifests, &c):
https://12factor.net/